Set up your shop
Everything is in Retail › Set up › Shop and delivery, in tabs. Each tab has its own Save Settings button at the bottom. Do the store details and PayNow first; the rest can wait.
Screenshots use a fictional business and figures. Select an image to view it full size.
Name your shop
Open Retail, then Set up › Shop and delivery. The first time, press Create Store.
-
On the Store tab, fill in the Store Name, the Store URL (the part after smeaio.com/s/) and a short Store Description. Leave Store Active on.
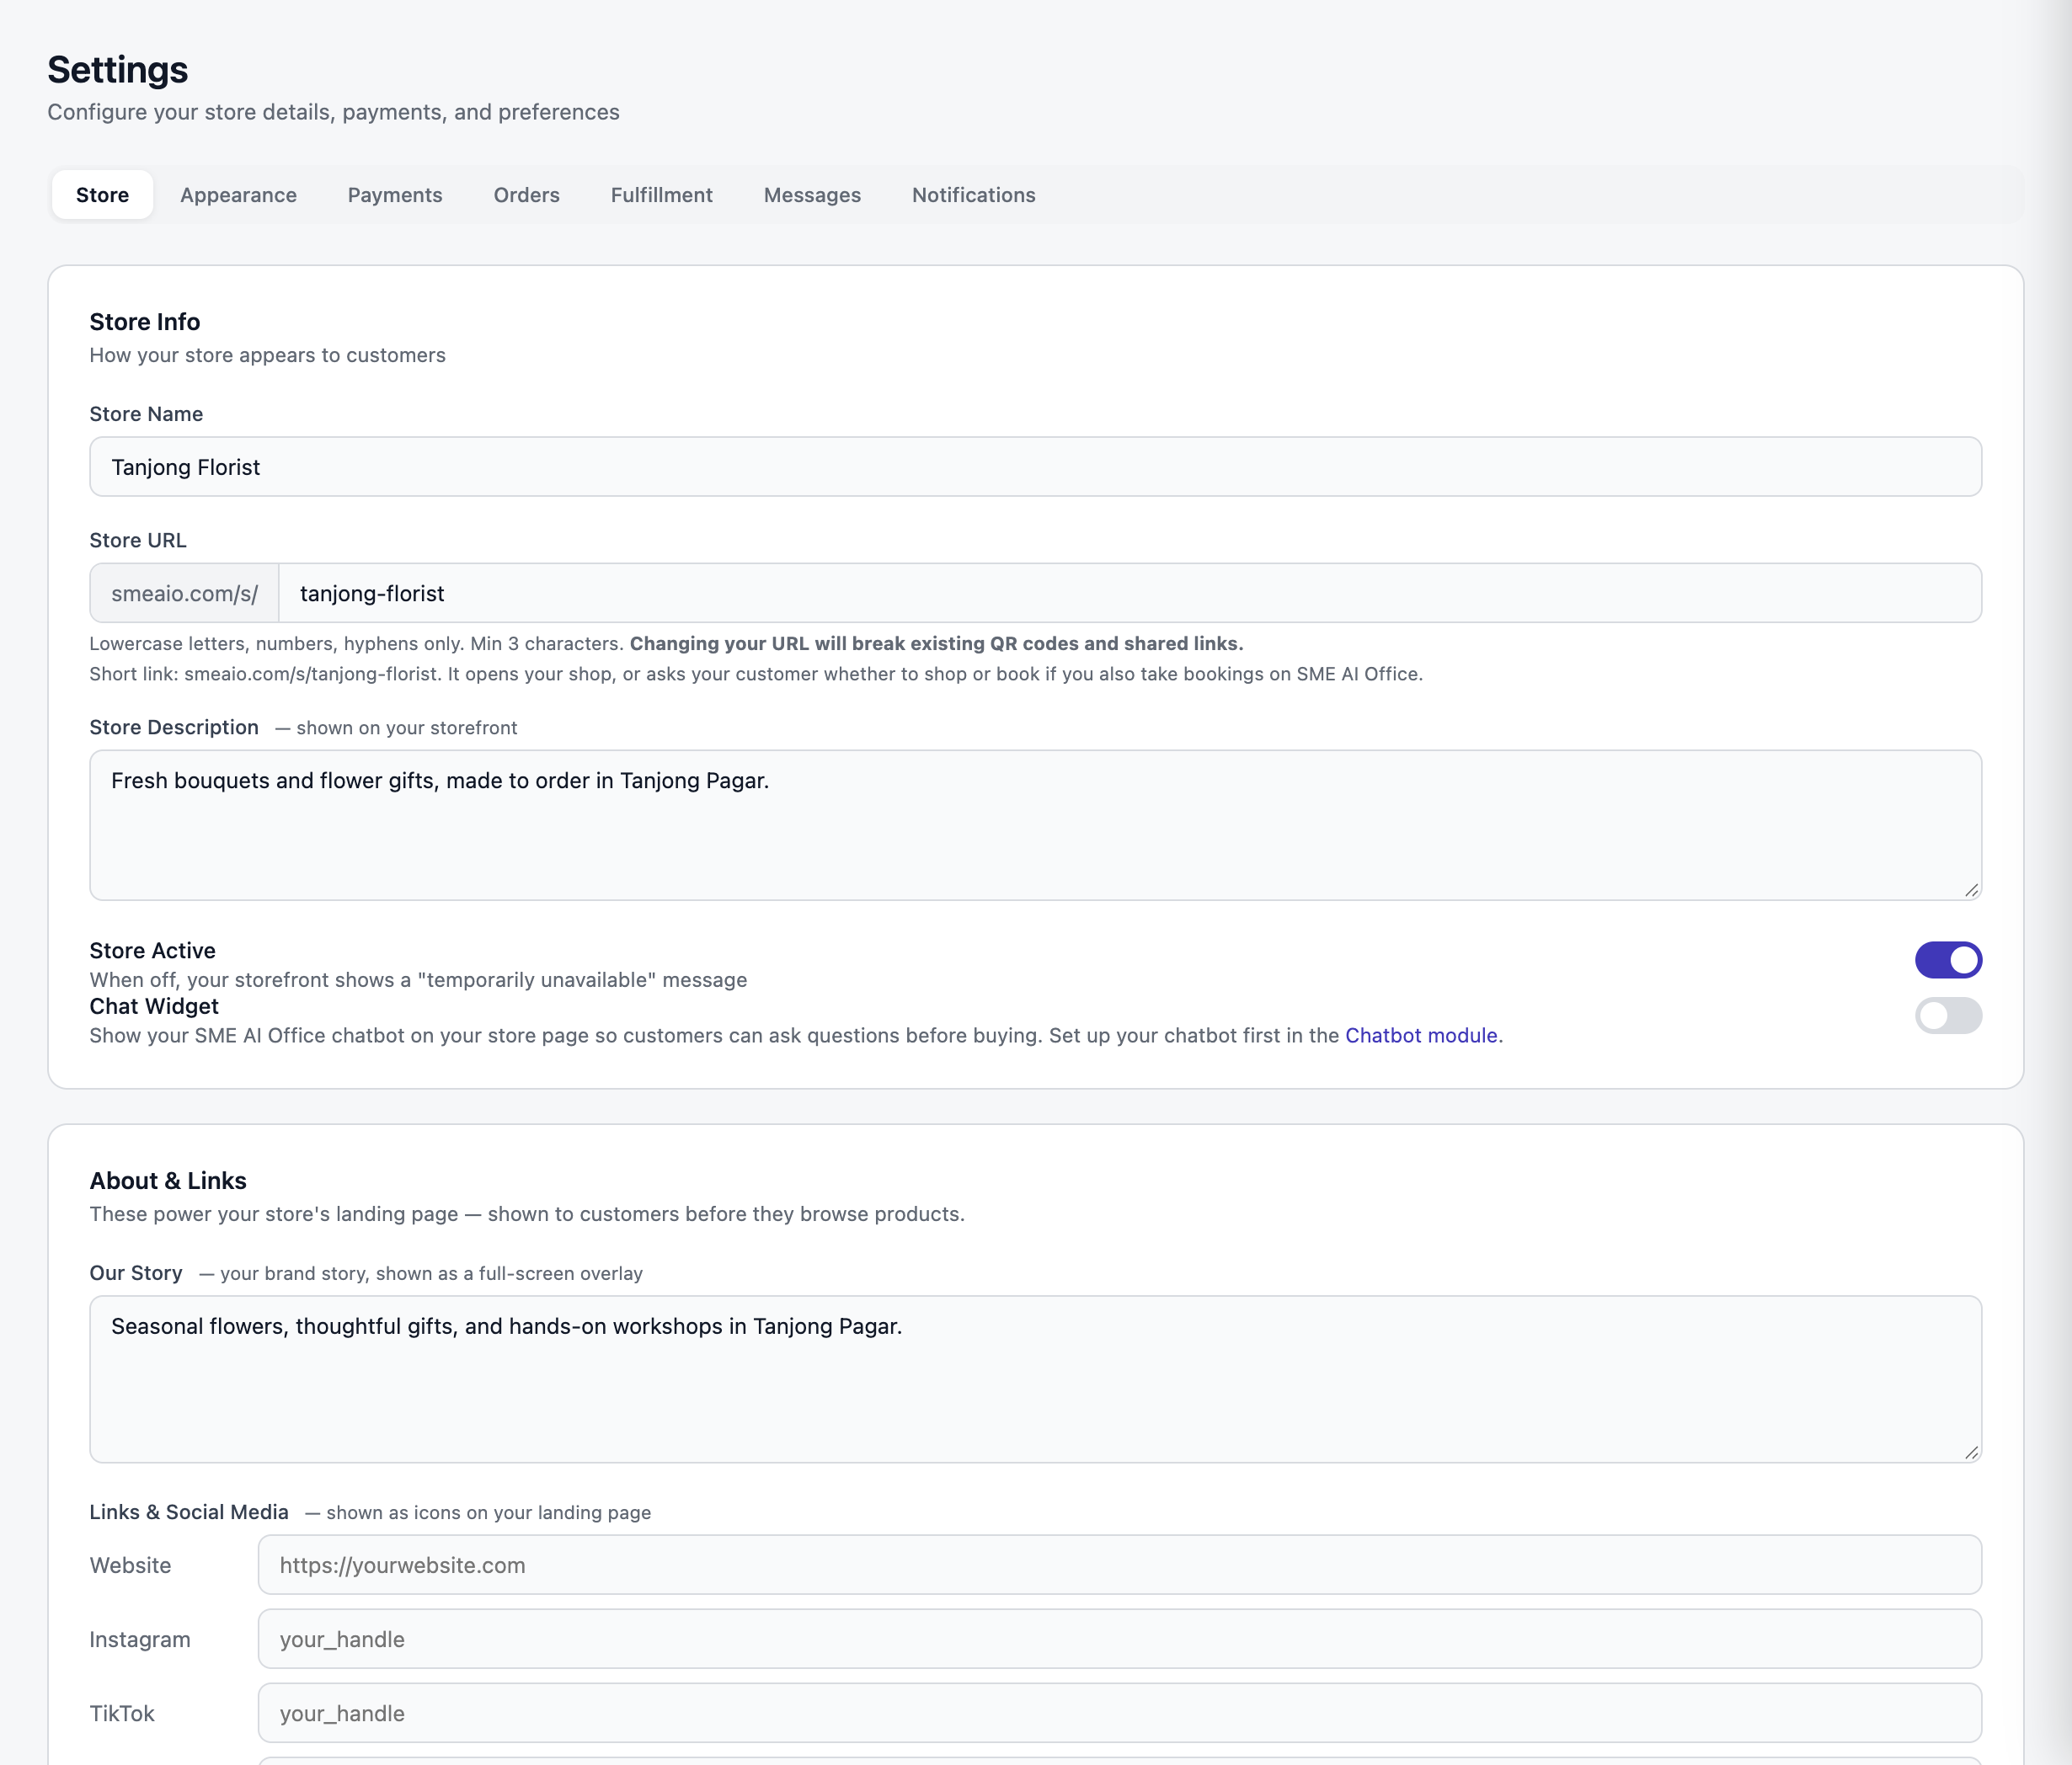
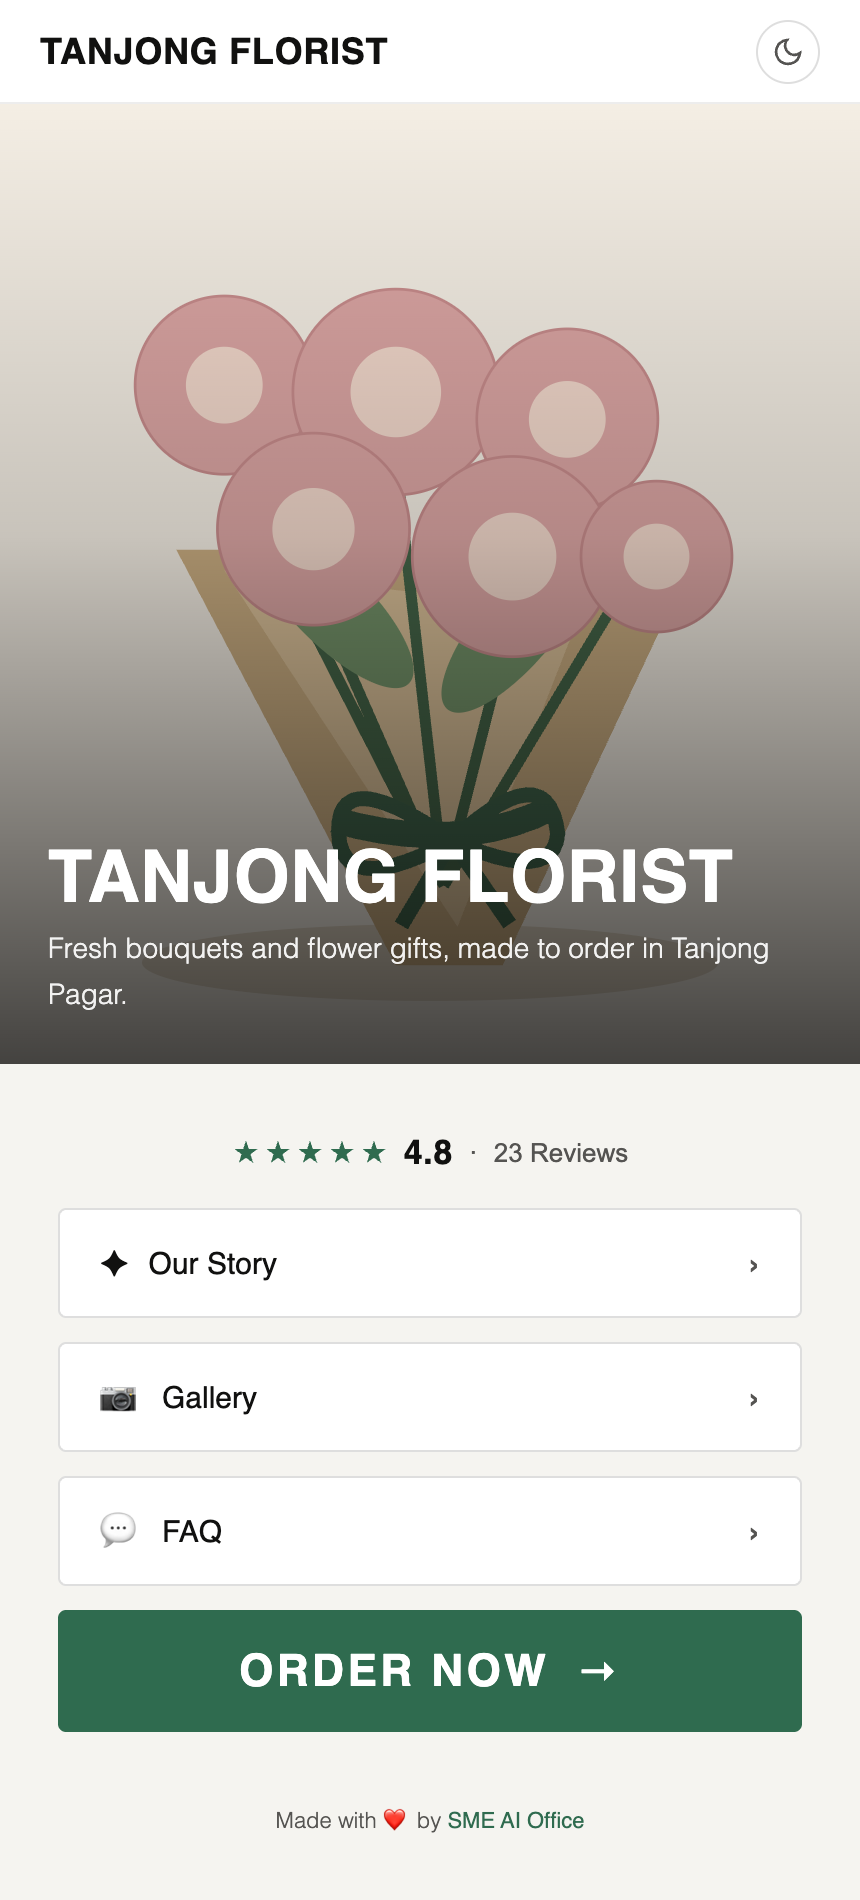
Your shop name and link. The link is what goes on your Instagram bio and QR codes. Under About & Links you can add Our Story, your website and social handles, and questions with + Add Question. If you fill any of these in, customers see a front page with these buttons before the products. Leave them empty and customers go straight to the products.
Press Save Settings.
Changing the Store URL later breaks old links and QR codes. Pick it once.
Set up PayNow
-
On the Payments tab, choose UEN (Business) or Mobile Number, type it, and type the Payee Name exactly as your bank shows it. Customers see that name when they scan.
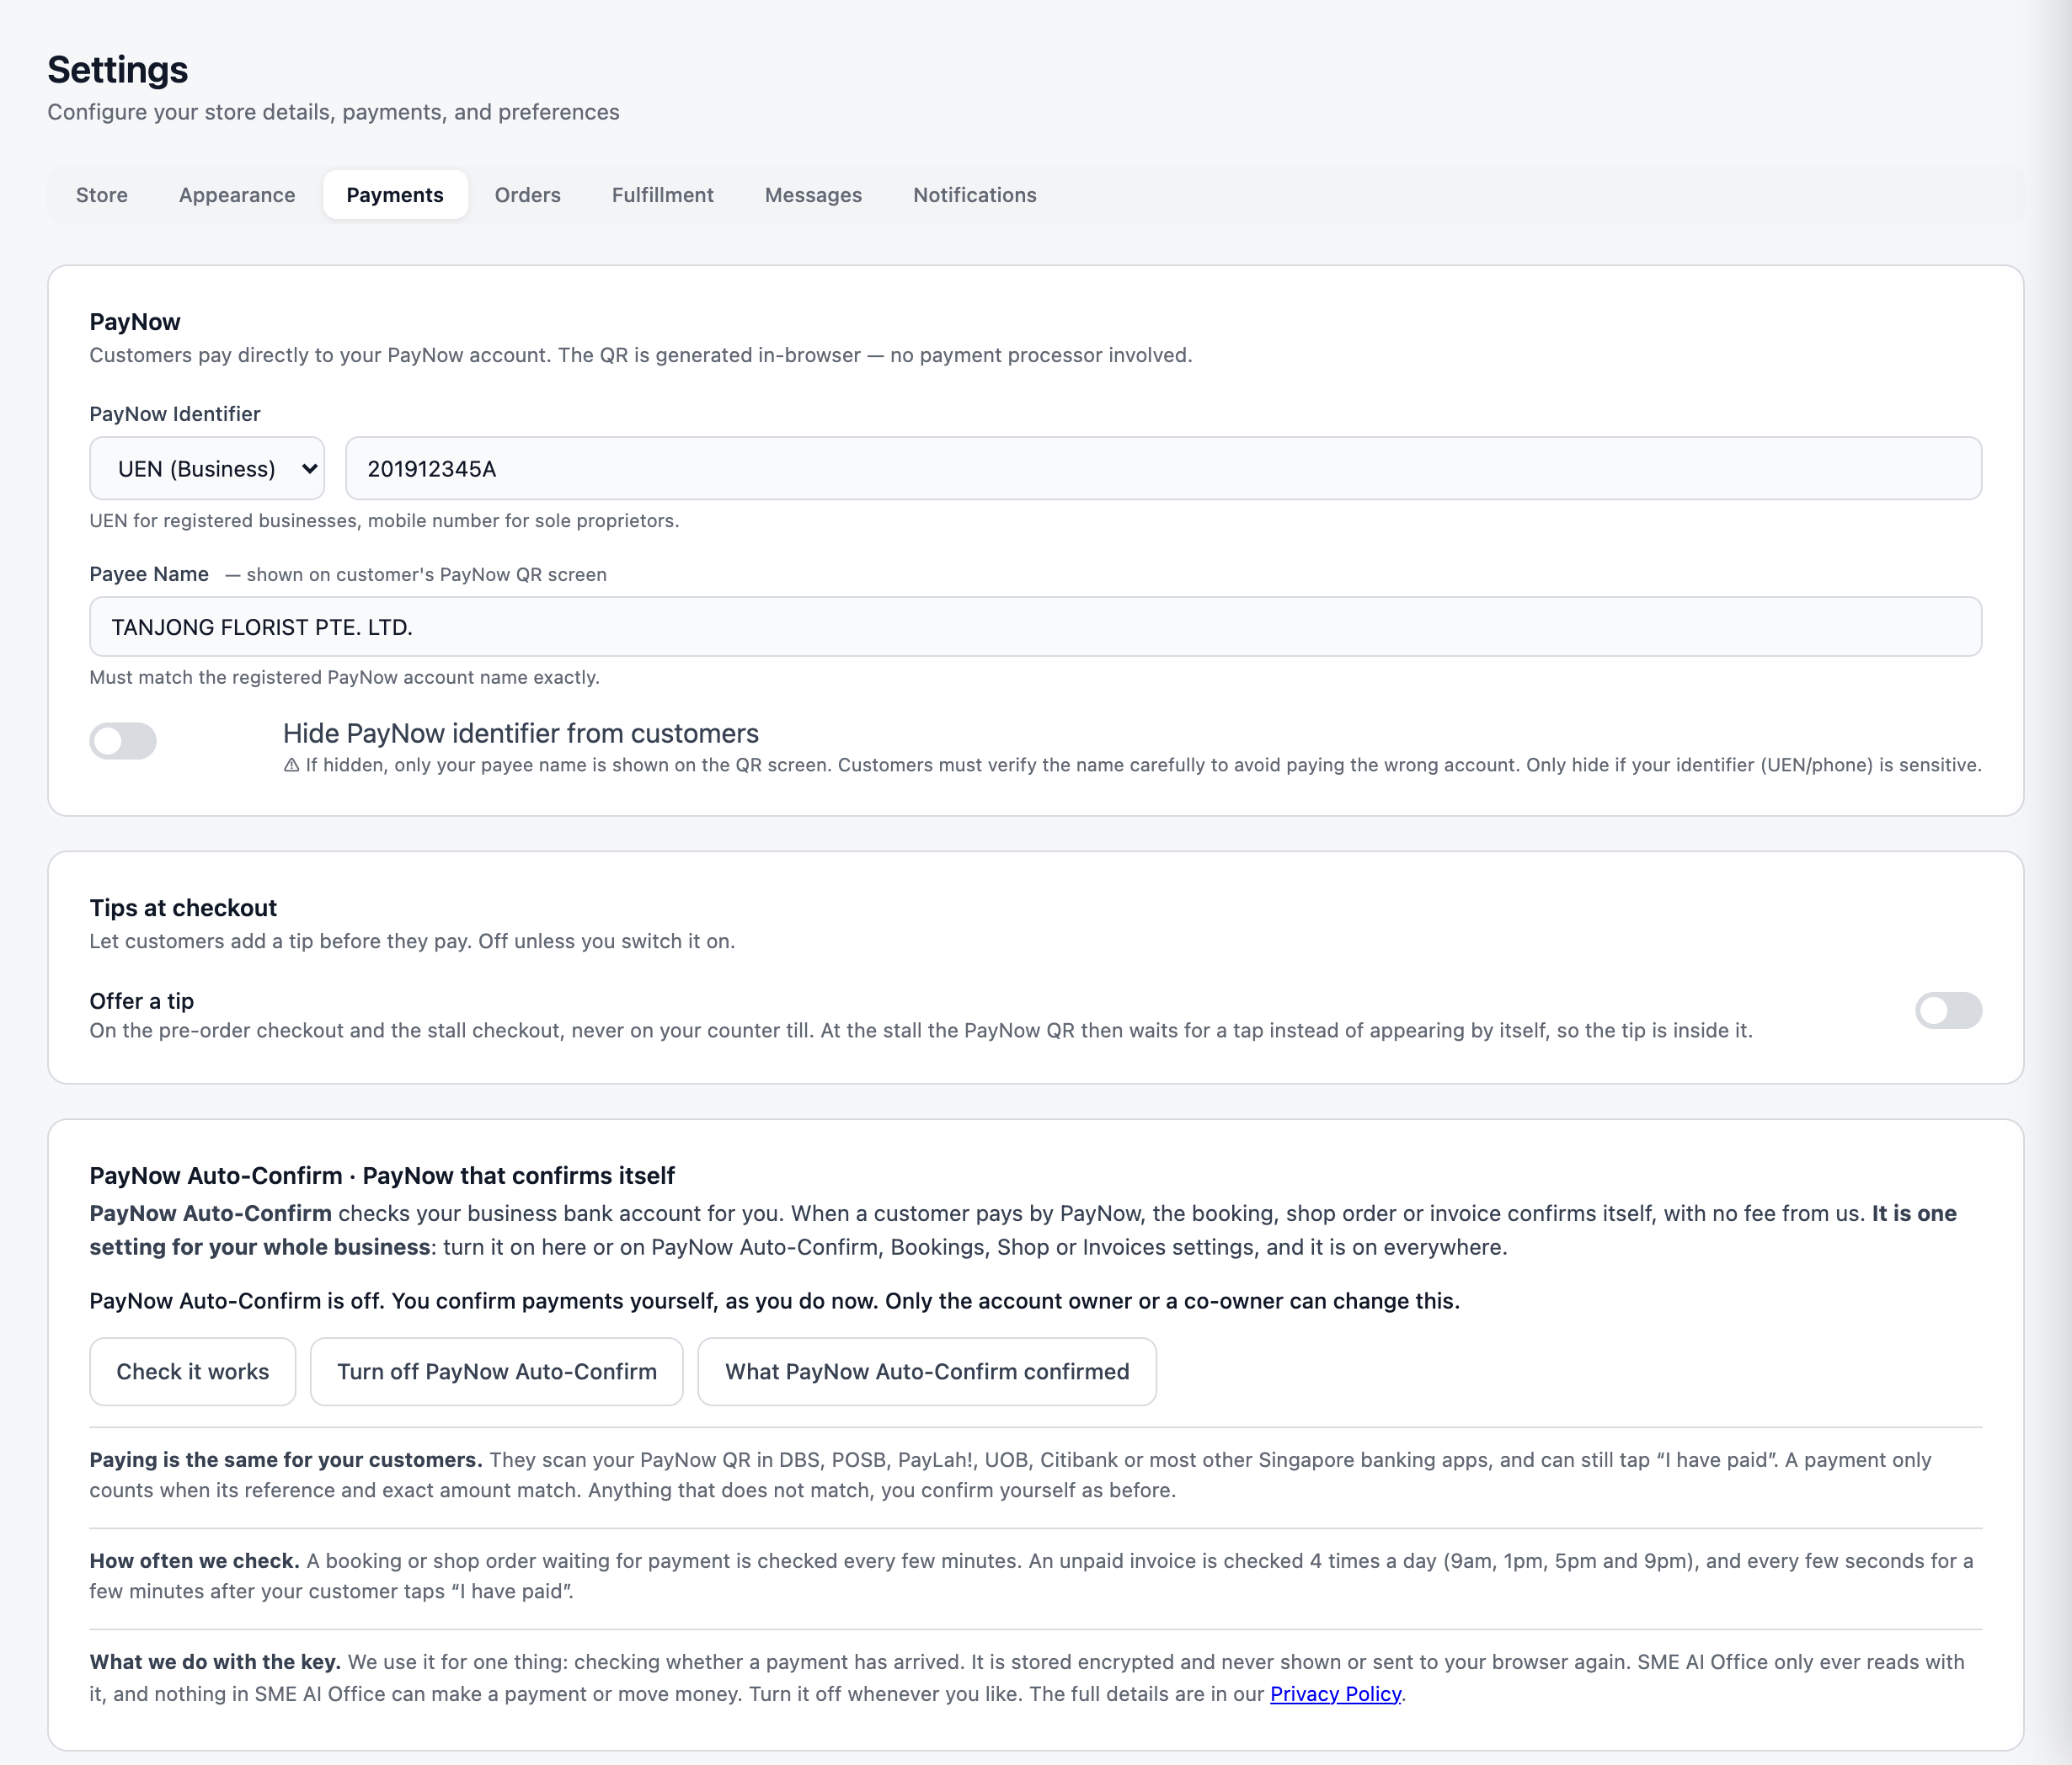
Customers pay straight into this account. The amount is locked in the QR. Offer a tip is off unless you switch it on. When it is on, you choose three percentages and customers can also pick no tip or type their own.
If you bank with a supported business account, the PayNow Auto-Confirm card lets payments confirm themselves. Otherwise you confirm each payment by hand, which takes one tap.
Press Save Settings.
Delivery and collection
A Retail shop keeps it simple: the customer picks Delivery or Collect in store, and is never asked for a day or a time. Both are on the Fulfillment tab. Add at least one delivery option or your shop's address, and your shop page asks customers how they want their order.
Collect in store
Under Collect in store, type your shop's address. The customer sees it at checkout and on their order page.
Press Save Settings. Leave the address empty if you only deliver.
Delivery options
Under Delivery options, answer How is this option priced? first: One price, wherever they are, or By how far they are from you.
For a distance price, save your postal code in Where you deliver from first (press Save Settings). Then fill in the starting price, Starting price covers (km), Each km after (S$) and, if you like, Furthest you go (km).
-
Read the sentence under the boxes. It works out what three real customers would pay. Then press Add this option. Options save as you add them.
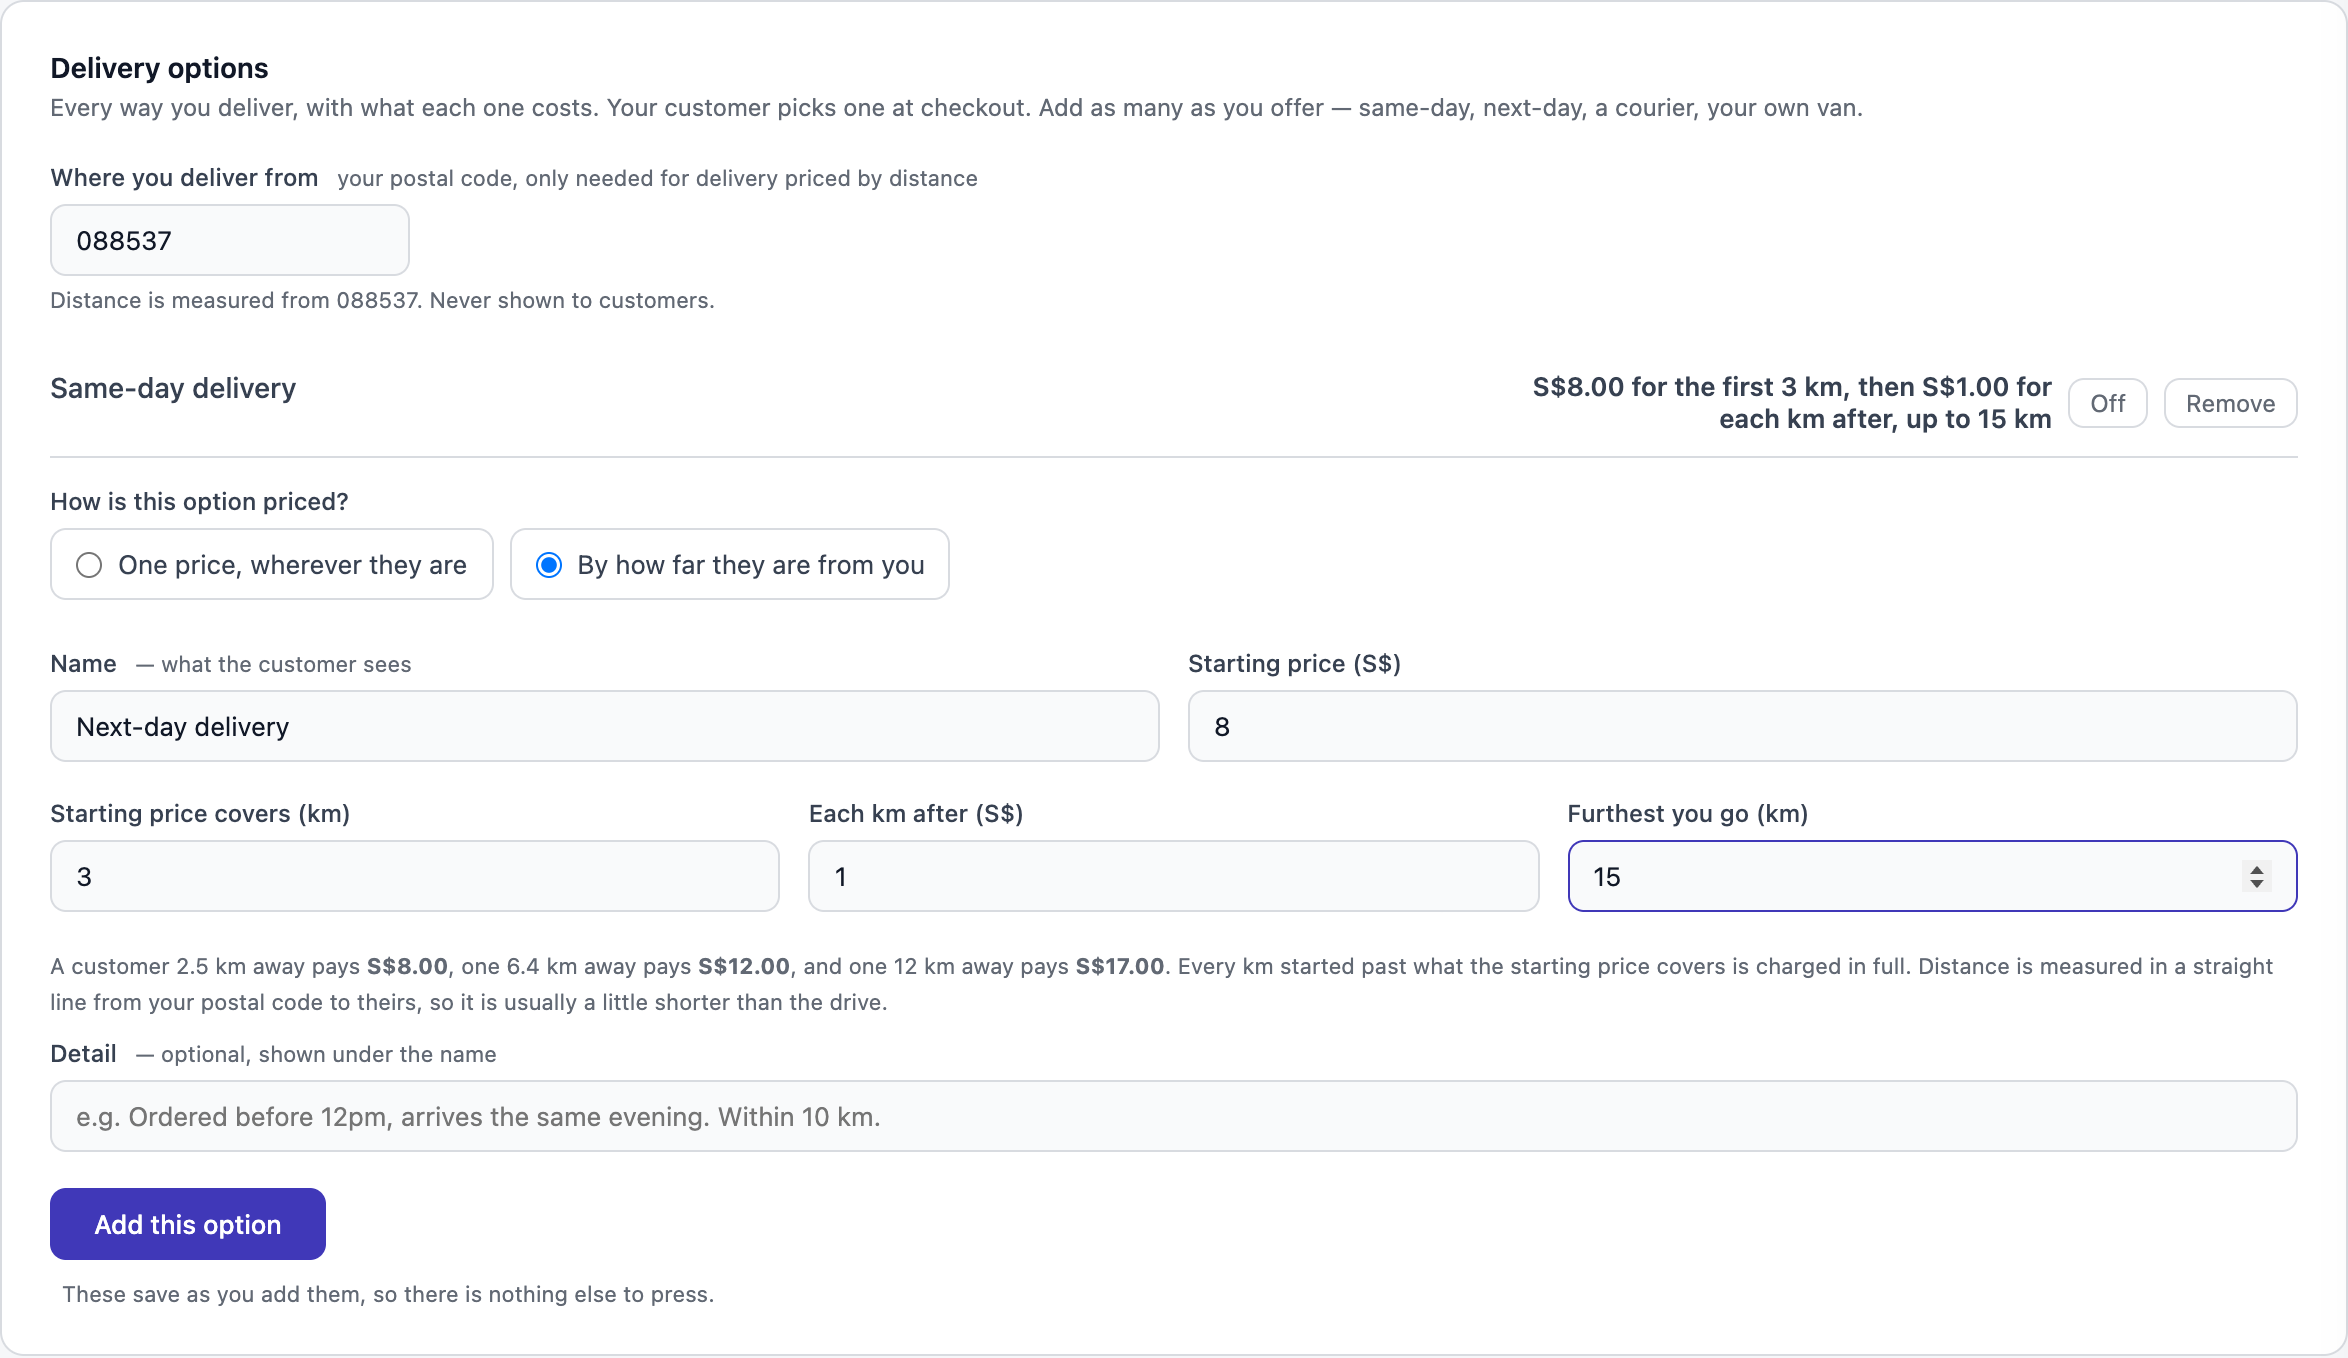
Delivery priced by distance, read back as three example customers before you save it.
A customer choosing a distance option types their postal code at checkout and sees the charge before they pay. Distance is measured in a straight line, so it is usually a little shorter than the drive.
You arrange the delivery yourself, with your own driver or a courier you book, and tell the customer when it is coming. If you already work with a delivery partner that offers an API, tell us who they are through Feedback and we will look at connecting them.
Need customers to pick a day and time, or several pickup places? That is how F&B works, for food made to order. Retail stays plain on purpose.
How it looks
On the Appearance tab, pick a Theme Colour, choose Grid or List for each mode, and upload a Store Hero Image (a wide photo, about 1600 by 800) and up to 10 photos in the Gallery. Big photos are shrunk for you.
Messages and alerts
On the Messages tab, type Your email address so a customer’s reply reaches you. Below it you can reword the emails the shop sends and the WhatsApp messages you send from each order.
On the Notifications tab, press Generate code, open the SME AI Office Notification Bot on Telegram and send it the code. Then choose what to hear about: New order placed, Customer marked as paid, New review received. Press Send test message to check.
Share your links
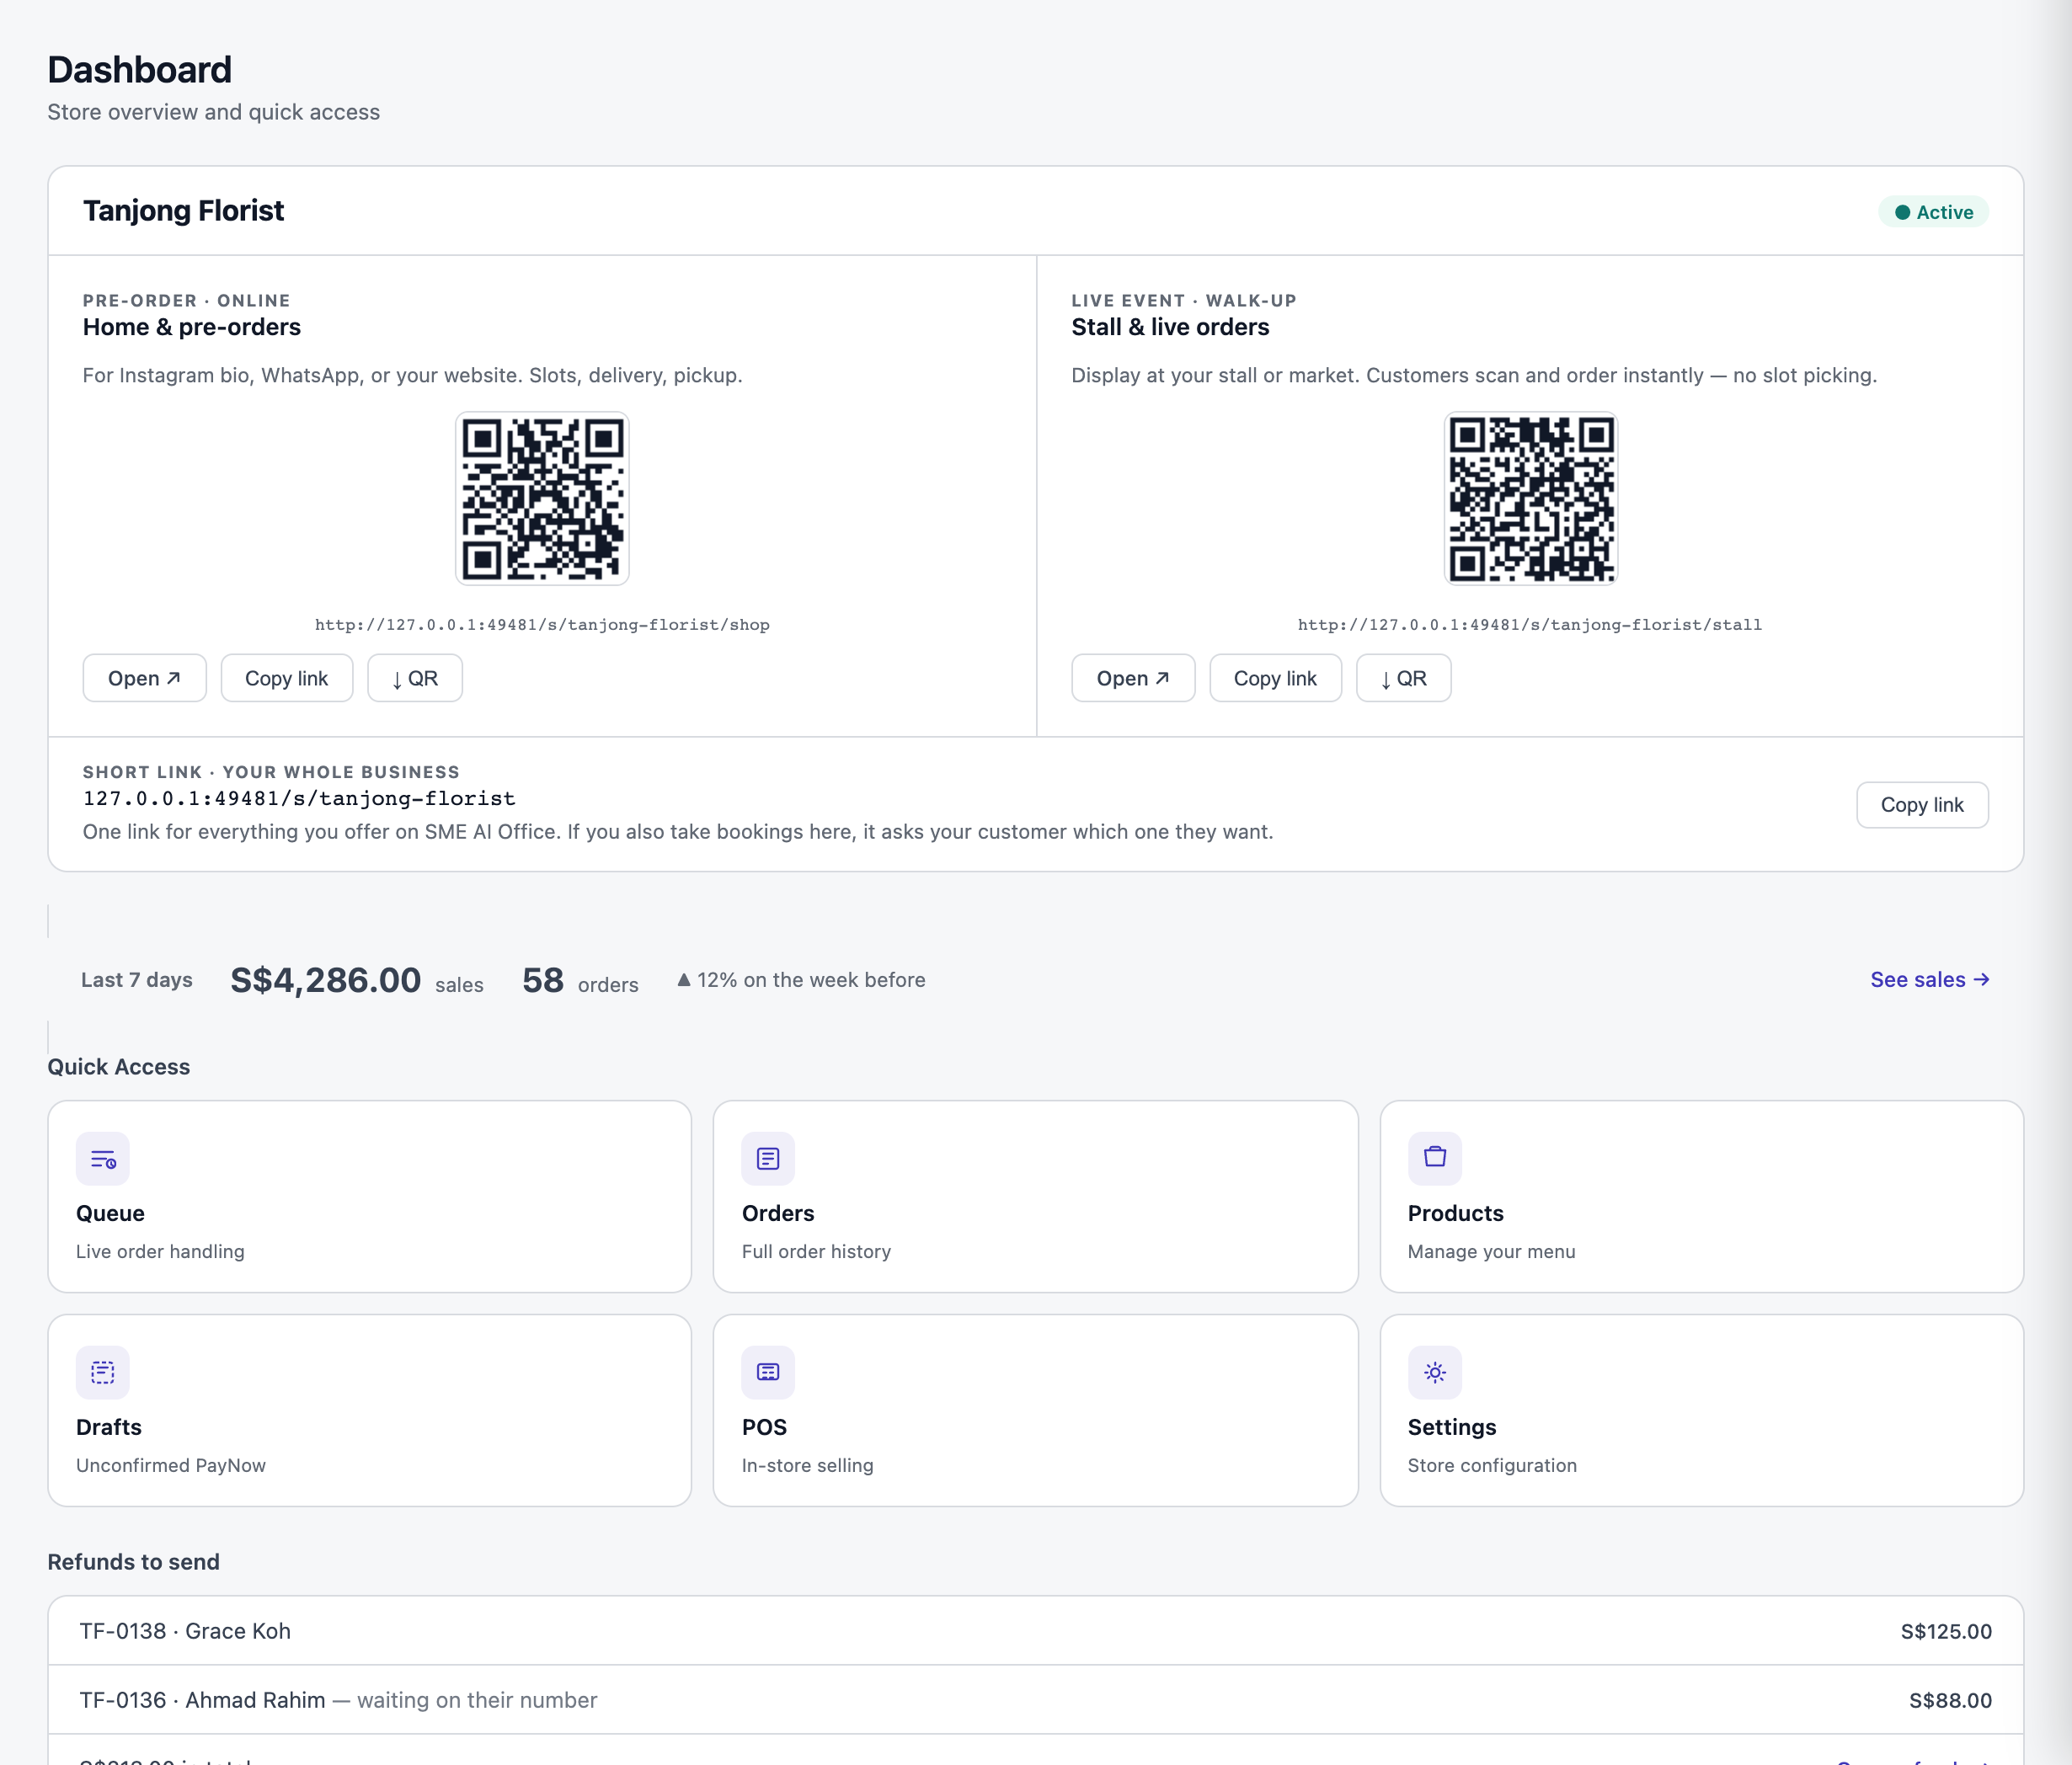
The Dashboard has two links, each with a QR code. Home & pre-orders is for your Instagram bio, WhatsApp and website. Stall & live orders is for a printed QR at a market: customers scan and order at once, with no slot to pick. Press Copy link or ↓ QR to download the code.
Be found on smeaio.com
Once your shop has at least three products, it shows on the merchants page of smeaio.com: your shop name, a photo and a Visit button to your shop. People looking at SME AI Office find you there. It is free on every plan and only uses what your shop page already shows, never your sales or customers.
It is on unless you switch it off. To switch it off, go to the Store tab and switch off Show my business on smeaio.com. The same switch is in Settings. You drop off the page within a few minutes.
Questions
Can customers pay by card?
Today customers pay by PayNow straight into your own account, so no card fee comes off your sales and nothing passes through SME AI Office. If you need card payments, tell us through the Feedback button. Features like this are added on request.
How do I close the shop for a while?
Switch off Store Active on the Store tab and save. Your page shows that the shop is unavailable until you switch it back on. To close only some days, use Blocked Dates.
Can I use my own domain?
Yes, with Pro 365. On Online Shop › Website, under Your own domain, type the address, like shop.yourname.sg, and add the one record it shows where you bought the domain. It usually goes live within 15 minutes, with the padlock added for you. Your smeaio.com link then sends people there. Emails still come from SME AI Office in your business name.
Next: Add products · ← Retail